How to Creat Boundaries and No-Go Zones? - Tutorials
Mapping-creating Boundaries
There are two ways to create virtual boundaries for your lawn.
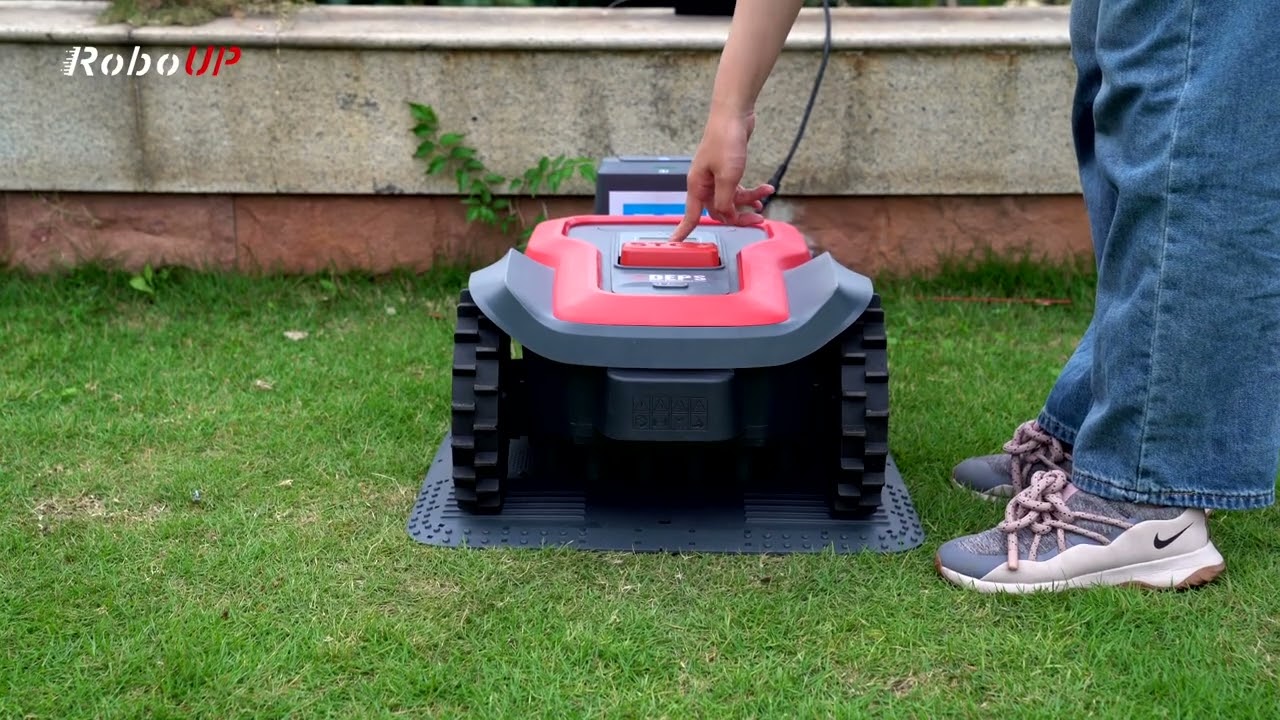
00:11 Auto-Mapping
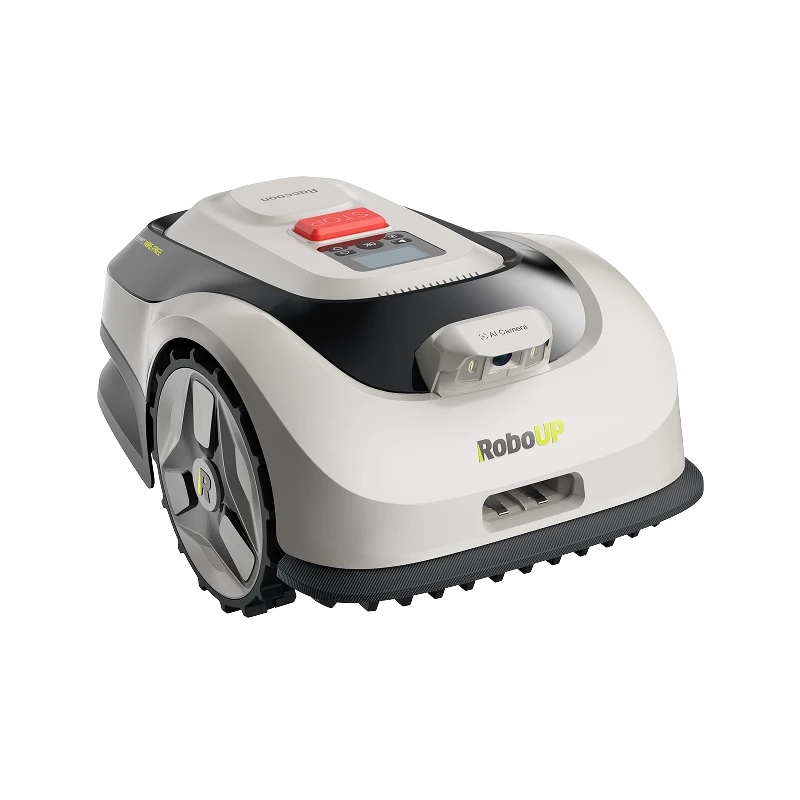
Ensure the perimeter of your lawn is clear. Click the "OK" button to start the auto-mapping. RoboUP will automatically detect the edges of your lawn. Create a virtual lawn map. Once RoboUP returns to the charging station, click "OK" to save the map. The height of the cutting disc can be adjustable. If your lawn wxperiences the following conditions, it is recommended to create boundaries manually.
01:03 Unclear lawn perimeter
01:08 Lawn has steps or cliffs
01:13 Need to set non-mowing areas such as swimming pools, flower beds, etc.
01:23 Manual Mapping
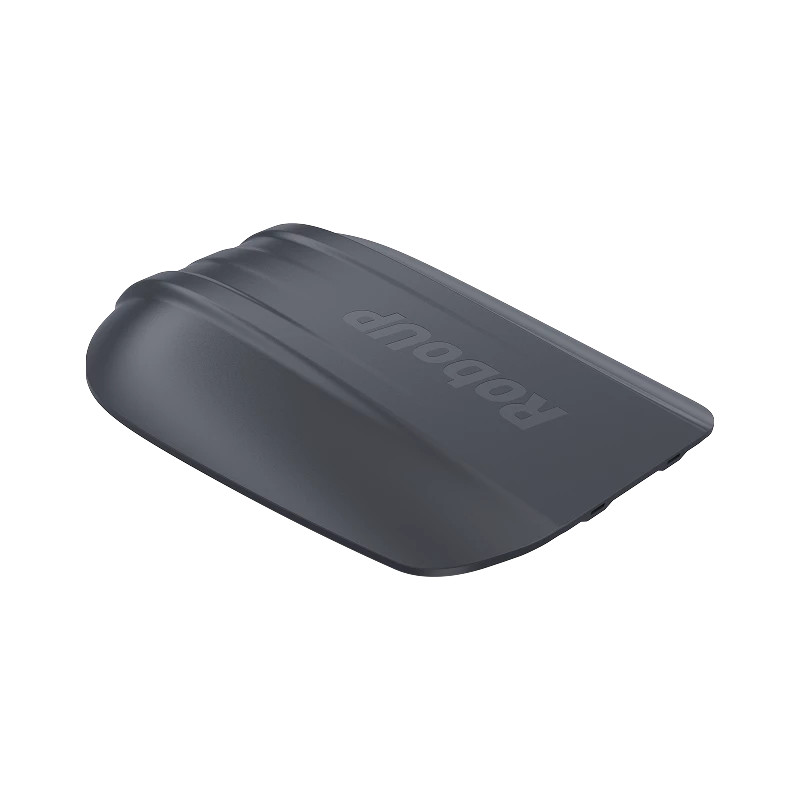
The lawn is flat, and there are no obstacles within a 2-meter radius of the charging station. Remove the ruler from the box and attach it to the robot. Click the "boundary" button in the RoboUP app. RoboUP calibrates and exits the station automatically.
02:19 Creating No-Go Zones
Click the "No-go zone" button in the RoboUP app. Remote control the robot near the no-go zone. The no-go zone should be set outside the radius of 2 meters from the charging station. When mapping no-go zones, make sure the mower does not touch the virtual map boundary.
02:51 Creating Passages
Multiple disconnected mowing areas require passage such as front and back gardens. After completing the mapping of two or more zones, create passage to link different areas. Click the "Passage" button in the RoboUP app.


![How to Upgrade Before Creating a Map? [Firmware]](https://files.iroboup.com/25/04/0323ad90070b7af03c34aeb4ea7468c6.jpg)

![How to Upgrade After Creating a Map? [Firmware]](https://files.iroboup.com/25/04/4ebe138a16db10681ba7a0e0848c8d48.jpg)

