


Raccoon 2 SE: How to Set Up Multi-Zone Auto-Mapping with Temporary Beacons
Nathan L. - 2025/11/26
Got lawns separated by paths or driveways? The Raccoon 2 SE makes it easy. With temporary beacons, it can automatically map and mow up to three separate zones. Here's how to set up the beacons so everything gets mowed smoothly.
How Multi-Zone Auto-Mapping Works
The Raccoon 2 SE uses temporary beacons to navigate between disconnected lawn sections. These beacons are easy to install and allows the mower to detect and transit between separate zones automatically.
Step 1: Prepare the Beacons
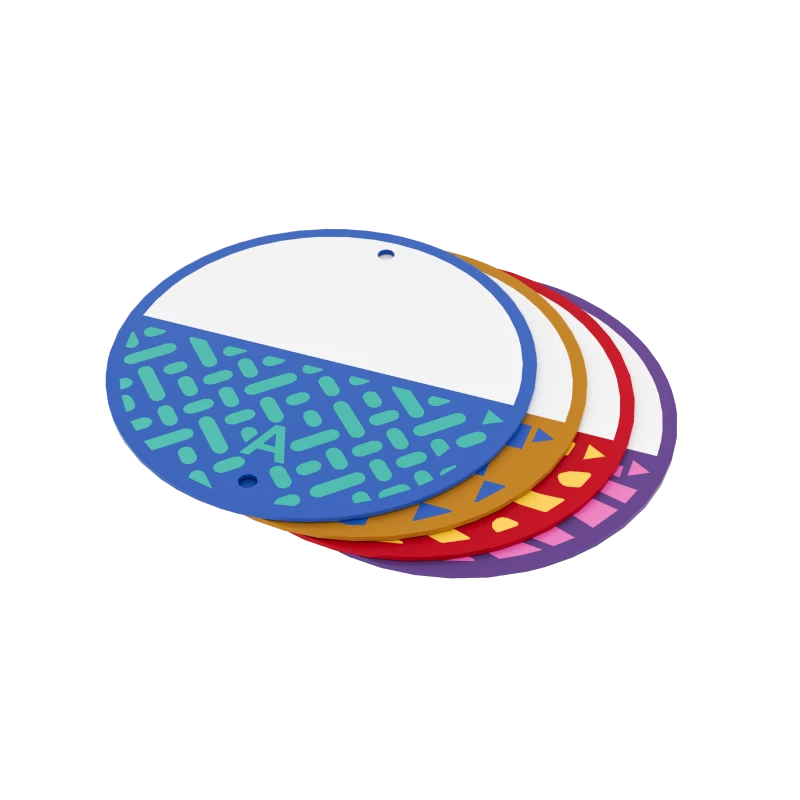
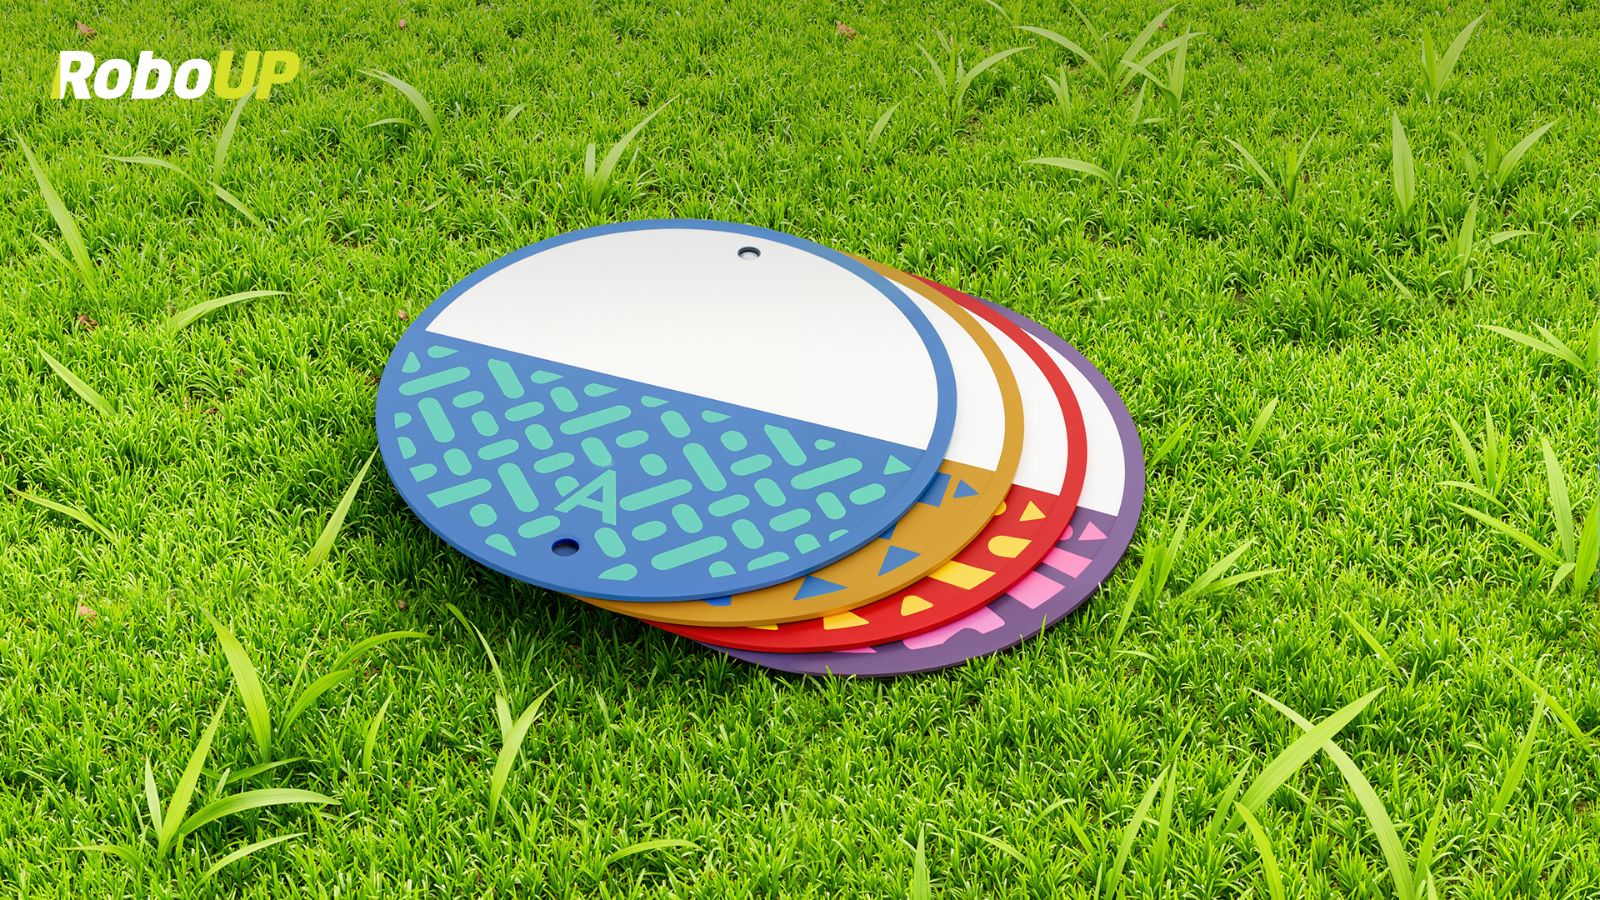
1. You'll find 4 beacons (A, B, C, D) in the box.
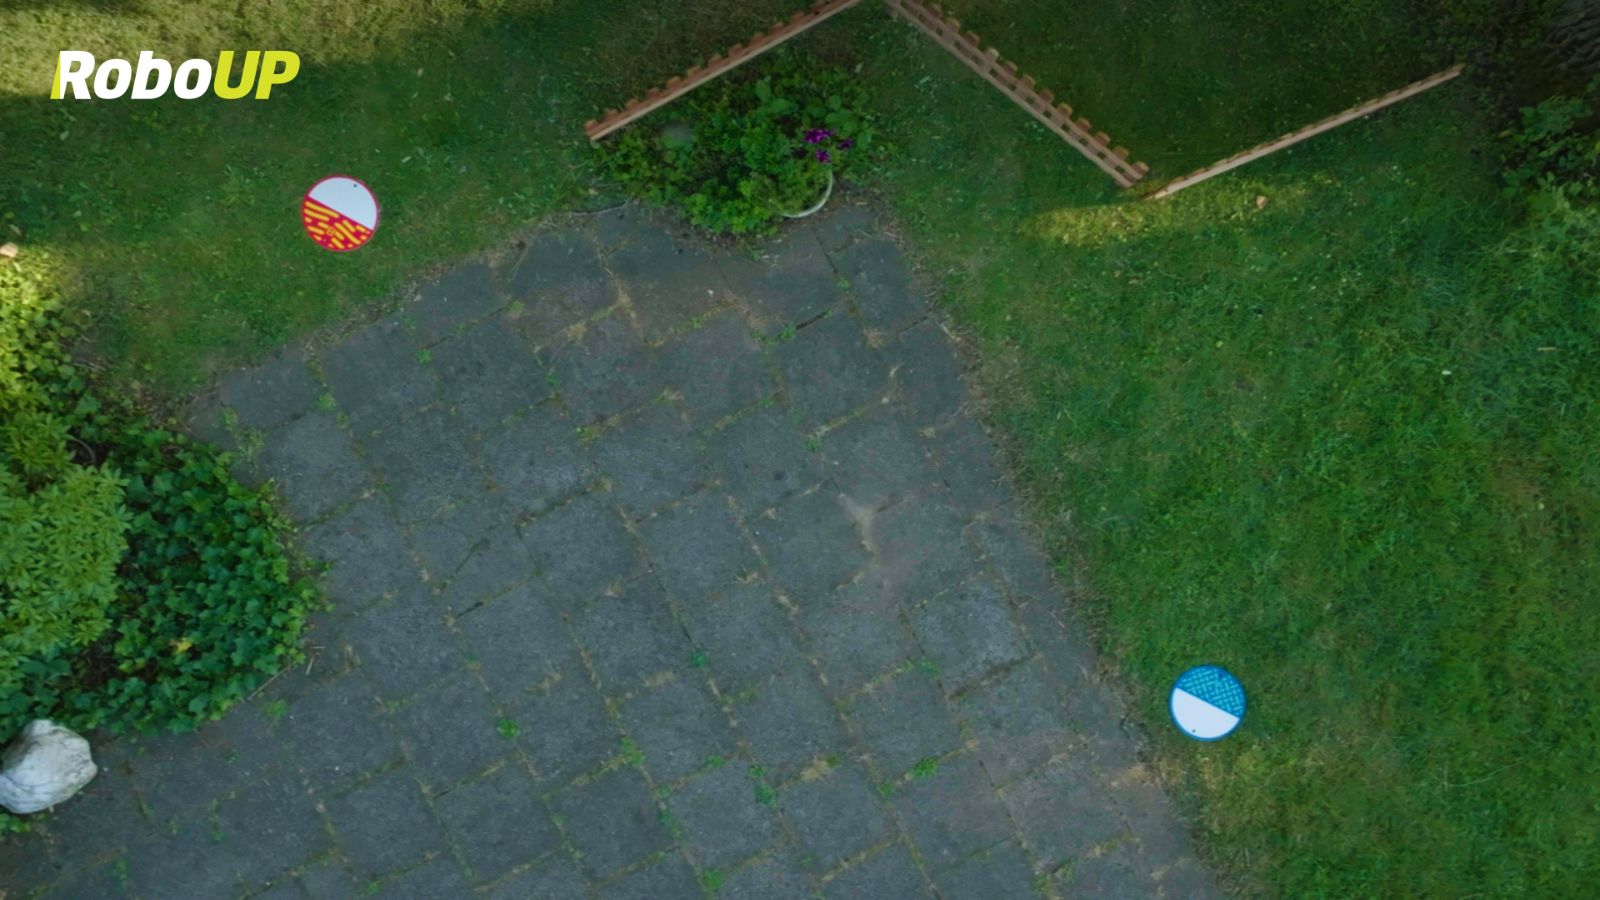
2. Place beacons at both ends of each passage connecting the lawns, with arrows pointing toward each other.

3. Secure the beacons inside the lawn edge using a hammer.
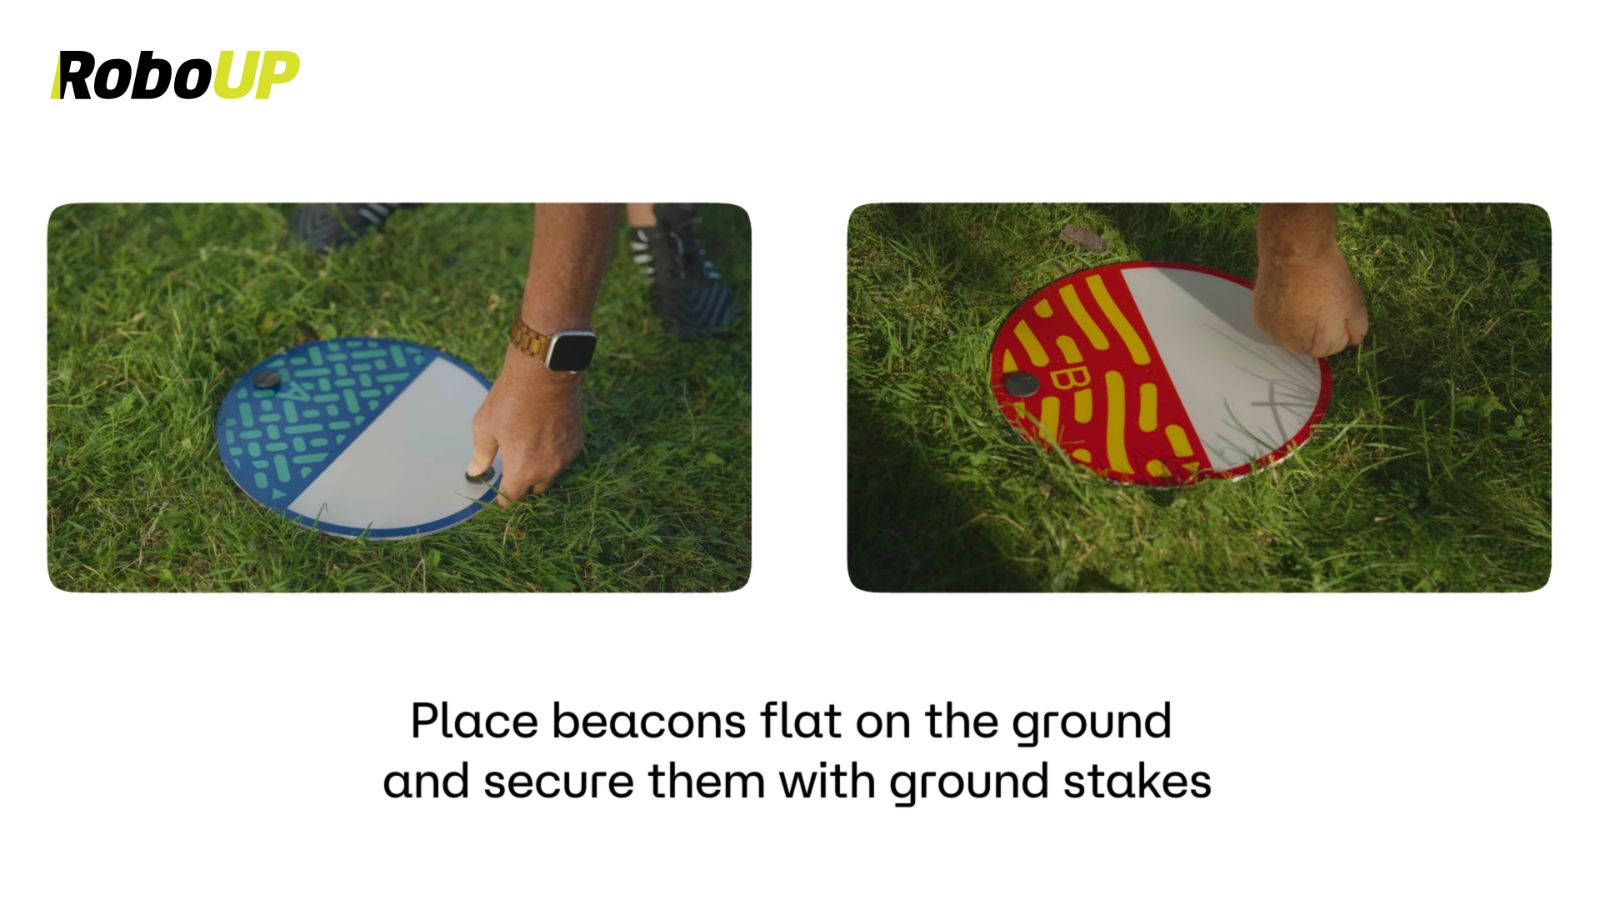
4. Ensure the beacons are 10-15cm from the boundary edge.
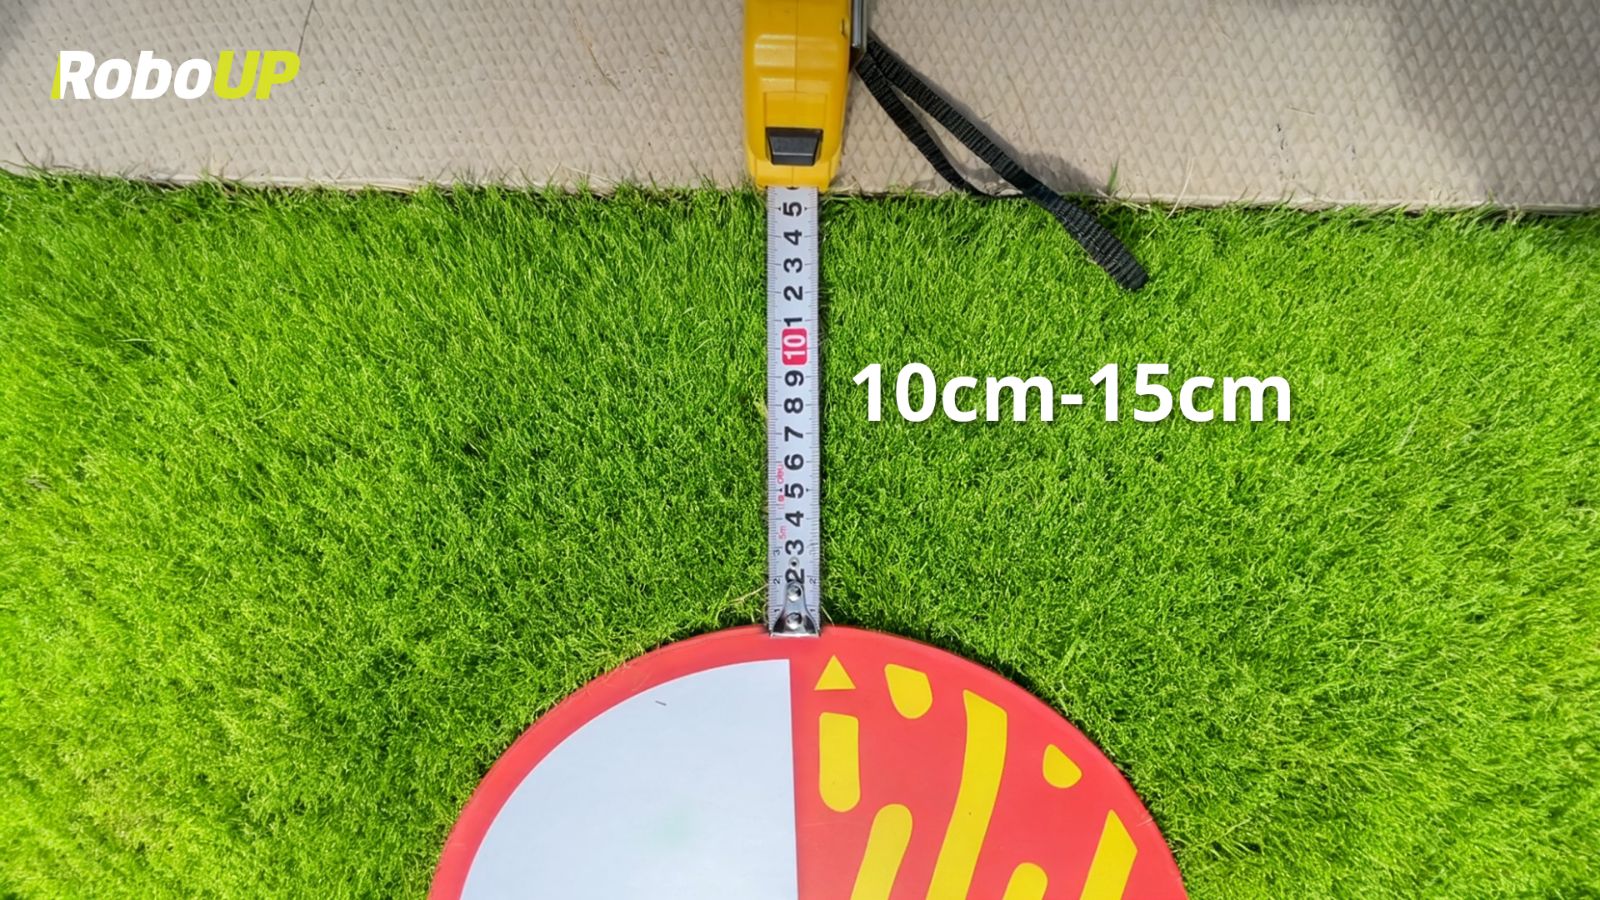
*This is what it should look like after setting up the beacons. The beacons should be 10-15cm away from the boundary's edge, and you'll see the two beacons pointing at each other.
Step 2: Start Mapping and Mowing
There are two ways to start multi-zone mapping:
Method 1: Press 'Mow' for auto-mapping and mowing.
Method 2: Select 'Create Map' for auto-mapping only.
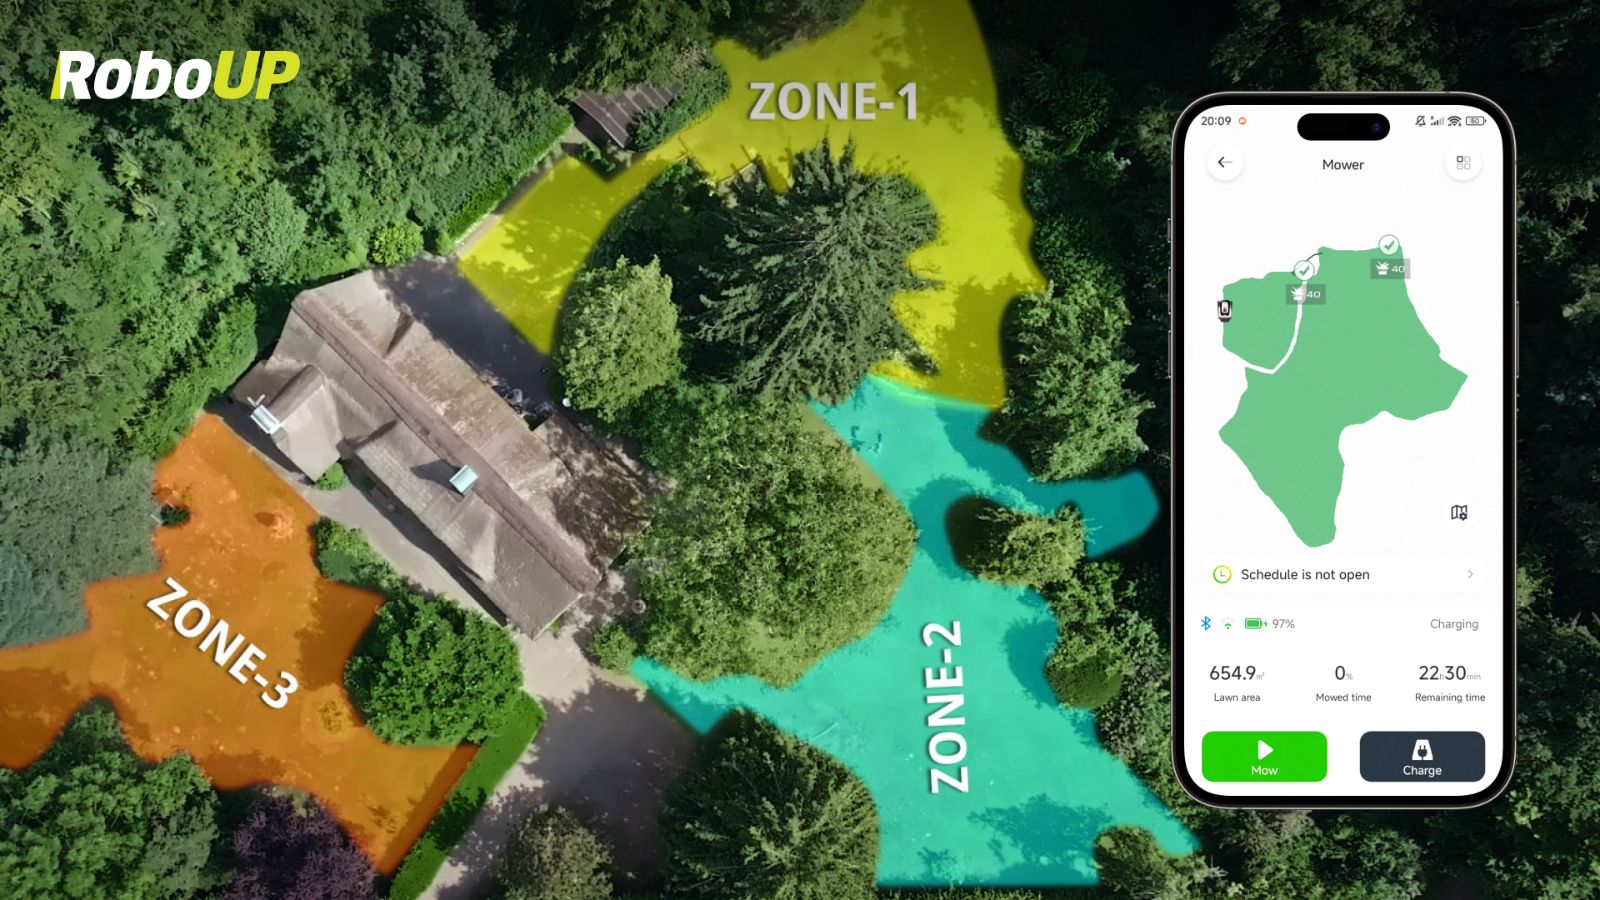
The mower will detect the beacons, create a map for the first zone, then navigate through the connecting beacons to map the second zone. Once all zones are mapped, it returns to the charging station automatically.
Step 3: Customize and Finish
Once mapping is complete, you can remove the beacons. The Raccoon 2 SE will remember the route, so you won't need to repeat the setup. Beacons are only required the first time you use multi-zone auto-mapping to help the mower recognize your lawn layout and link the zones. Once everything is mapped, you can customize your preference on the App to finish.
With temporary beacons, multi-zone mowing is fast, easy, and precise.
Interested in learning more on how to map multiple zones automatically with temporary beacons? Check out this video!
Not Backed the Raccoon 2 SE Yet?
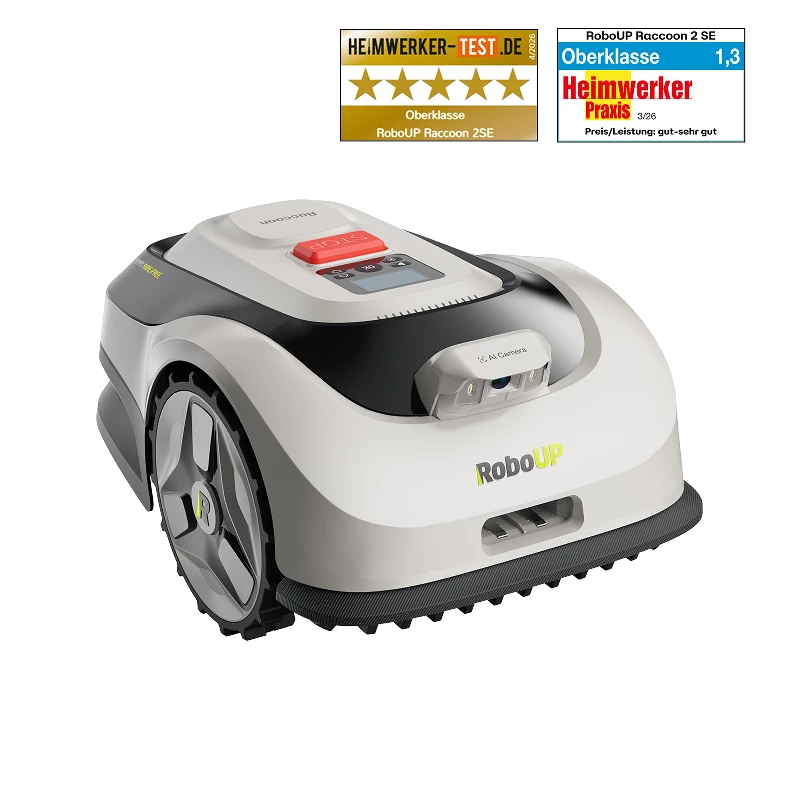
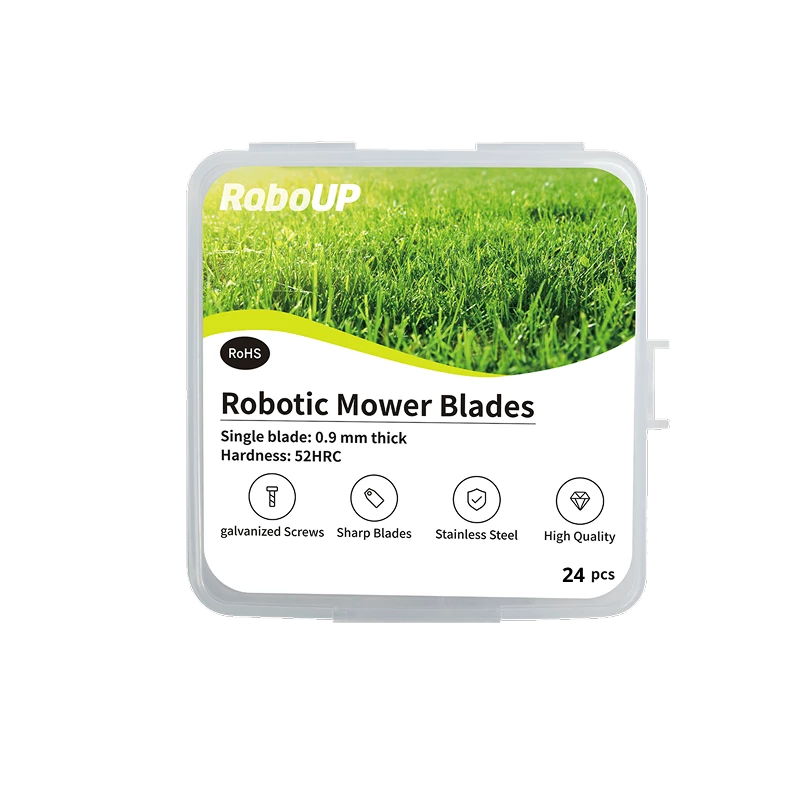
Secure your Raccoon 2 SE on Kickstarter and enjoy effortless, multi-zone lawn care. Don’t miss the Kickstarter x Black Friday Double Deal! You can now get the Raccoon 2 SE robot mower, Official RoboUP Garage, and 2 sets of blades at an exclusive price. Curious how much? Click here to find out!


0
0
Raccoon 2 SE: Learn How Target Area Mowing Lets You Mow Stripes Instantly Without Mapping How-To Install Raccoon 2 SE Accessories: RoboUP Garage, Front Wheels, Blades, Ground Stakes & Beacons

