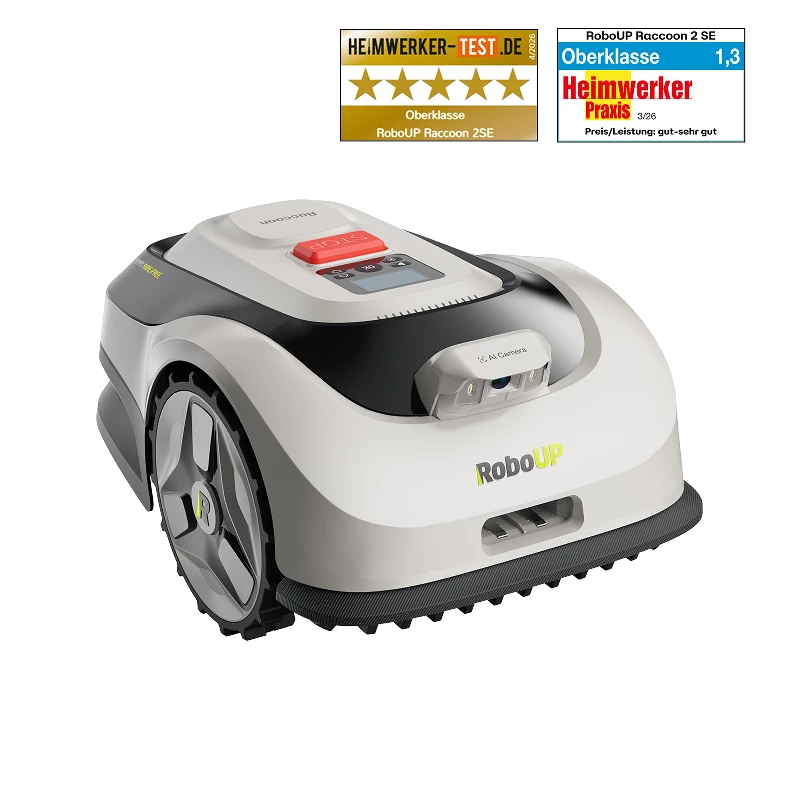


Winter Maintenance of Robot Mower
RoboUP - 2024/01/06
To ensure your autonomous lawn mower remains in perfect condition for the upcoming mowing season, please follow these guidelines.
1. Preparation for Winter Storage
· Turn off all Scheduled Mowing tasks in the RoboUP App.

· Charge RoboUP’s battery to 50%-70%.

2. Remove the Charging Station
· Unplug the charging station power supply from the main AC power socket.

· Disconnect the extension cable from the power supply's DC outlet.

· Disconnect the extension cable from the charging station's power connector.

· Turn off the mower and carefully remove it from the area.

· Loosen and remove the screws.

· Remove the charging station and store it somewhere safe.

· When the next mowing season arrives, re-install the charging station and relocate it.

3. RTK Base Station Maintenance with Proper RTK Mounting
Scenario: Take care of and maintain the RTK Station by removing the RTK Station if it is installed on the wall, roof, or eave.
· Unscrew the screw on the RTK station

· Disconnect the cable from the RTK station

· When the next mowing season arrives, re-install the RTK station back to its original position.

4. Maintaining Your RoboUP
Cleaning the Exterior
· Ensure your RoboUP is placed on a level surface.
· Power off your RoboUP and make sure the battery level is between 50-70%.
· Clean the entire exterior surface of RoboUP, including the whole outer shell, wheels, and chassis, using a damp towel or a soft brush. If it is extremely dirty, you can choose to wash your RoboUP.
Note: To avoid water intrusion, do not use a pressure washer gun to clean the lawn mower.

· DO NOT turn RoboUP upside down and wash the bottom of your RoboUP with a washer.

· Allow your RoboUP to dry for 30 minutes and ensure it is placed on the right-side up on the ground, not upside down.

Cleaning the Underside:
· Prepare the necessary tools: Protective gloves, a brush, and a screwdriver.

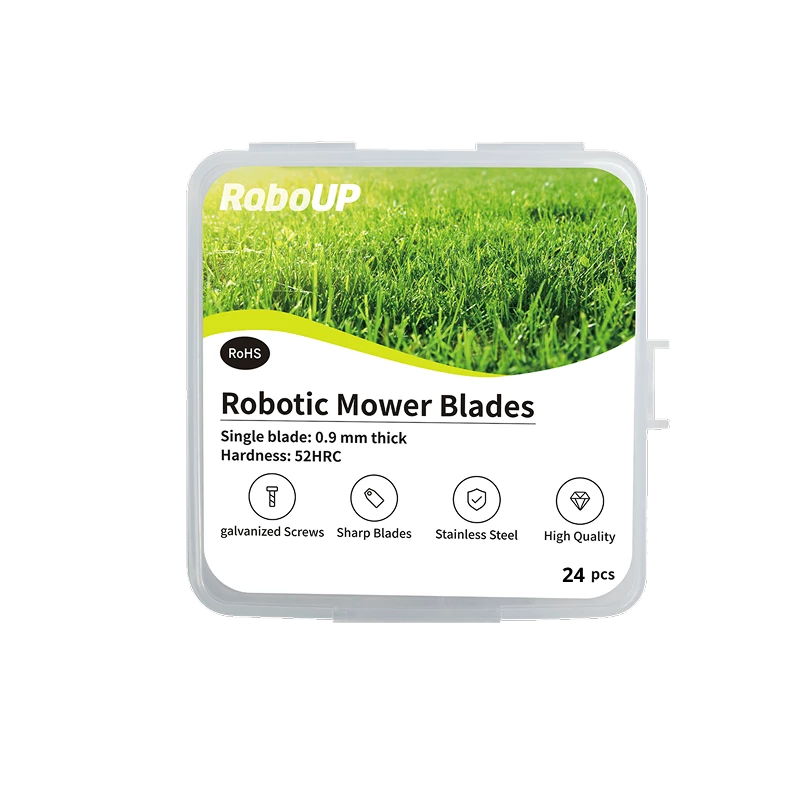
· Carefully turn your RoboUP upside down, with protective gloves on, use the screwdriver to loosen the screws of the blade.
Notice: Please wear protective gloves.

· Wipe the cutting disc

· loosen the screws on the cutting disc.

· Remove the cutting disc

· Use the brush to clean the bottom of your RoboUP.
Notice: Avoid using sharp objects to clean.

· After cleaning, reassemble the blade disc.

5. Clean the Charging Station
· Use a brush and a towel to clean the charging station thoroughly, pay attention to the charging pin and the interface.

· Make sure to clean the bottom of the charging station for proper maintenance.

6. Winter Storage
· Pack your RoboUP, charging station, cable, adapter, and other accessories in the original packaging.

· Store the RoboUP and its accessories in a dry environment with a temperature range of -10-25℃/14-77°F.


0
5
Tips for Spring Gardening: Parsley Cultivation at Home

