Garden Detective on Duty: The Case of Dull Blades
Frances C. - 2024/12/06
Something was amiss. The lawn, usually pristine and perfectly edged, now bore telltale signs of neglect: faint trails of uncut grass, a few uneven patches. Suspicious, you squatted down, piecing together the clues. RoboUP, your trusted robot mower, has never let you down before. What could be behind this sudden drop in performance? After a careful look, the answer appeared: dull blades! Your robot mower blades had faded, and it was time to swap in some new ones.

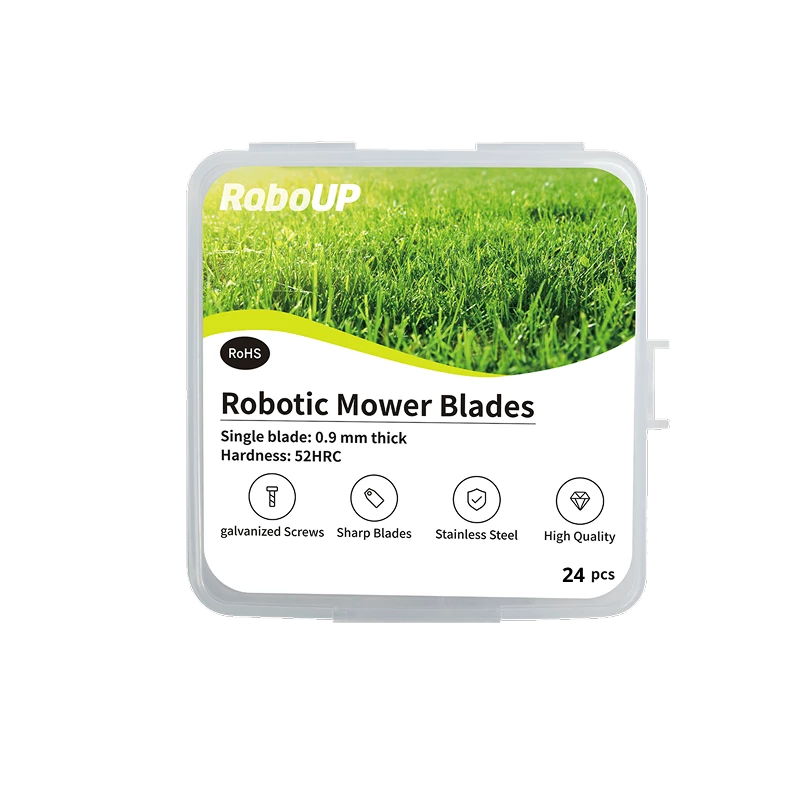
Reaching for the RoboUP Replacement Blade Set, you knew these weren't ordinary blades. Built for enhanced durability and precision cutting, they featured two slotted holes for each blade, meaning each blade could go twice the distance by simply switching from one slot to the other. Paired with a reverse rotation feature, they promised balanced wear and longer life, making them the ideal fix.

Time for a methodical approach. Step one: Turn off your robot mower, no surprises here! You put on some gloves and examine each blade. A quick note on maintenance flashed in your mind: RoboUP's blades do best with a change every two weeks if it's running full-time, or every four weeks for lighter use.
You removed the worn blades one by one, attaching fresh ones with precision. You started with the first slot on each blade, knowing that once that side had worn down, you could rotate to the second slot for extended use. After tightening each screw, your robot mower was ready. The robot lawn mower blades are fully restored.
Powering your robot mower back up, you watched as it ran forward, mowing smoothly through the grass once again. Case closed! The garden was safe, thanks to a quick blade swap and your detective skills! If you'd like to see how it's done, you can watch these tutorial videos for more information.
The Best Types of Grass to Mow in Europe Lawn Revival Secrets: Eco-Friendly Tips for Spring Lawn Care


